
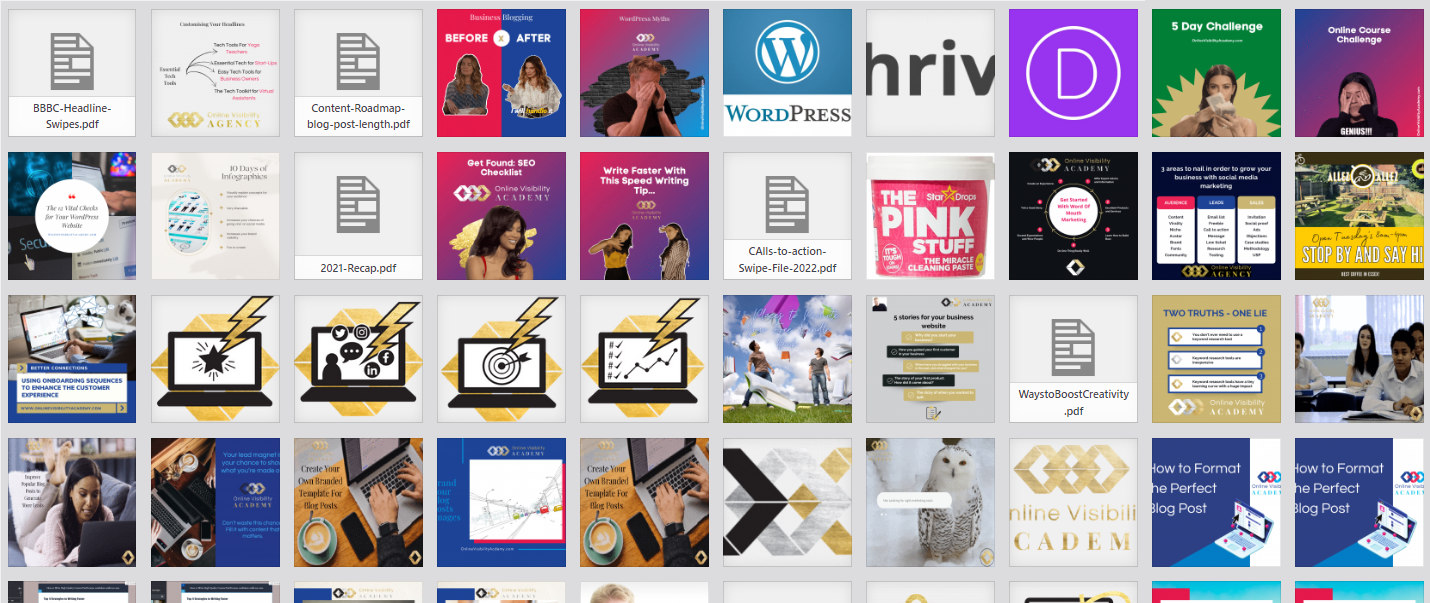
The WordPress media library page is pretty simple and straight to the point. It displays all the images, PDF, audio, and video files you have uploaded to your website through WordPress.
The WordPress Media Library

Any file you upload to WordPress will appear in the media library. This includes images, audio, video, and PDF files. It is important to note that this does not include any themes graphics that are located in the theme directory and folder.
The media library allows you to view files in two different ways. The first is by thumbnail as shown in the screenshot above. This allows you to view a preview of any images in the library. PDF, audio, and video files will show a default grey icon with the file name.
The list view in the media library shows you the thumbnail as well as more information about each file in the media library. The information shown includes who uploaded the file, which blog post or page it is attached to, if any, the number of comments the media files has, and the date it was uploaded.
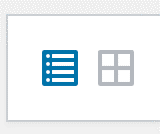
To change views simply click on the buttons at the top next to the search filter. See the picture below. The icon that looks like a bulleted list on the left will display the media library in a list format and the grid icon on right will display the media library in the thumbnail format.
Edit Media
When you click on a thumbnail or the edit link in the Media Library you will be shown a number of different options you can choose for each media item. Many of these options are also chosen when uploading an image or file through the importer on the post and page editor.

Options include:
- Alternative Text – This is the text that is displayed if your image is not able to be displayed for any reason.
- Title: This is the image file name pulled through
- Caption – If you would like a caption to appear under the image this is where you place that caption. Please note that all themes may not automatically include the caption to be displayed.
- Description – This is the area to describe your image, add copyright and source information, or any other information you deem important.
- File URL: This is the URL of the file, if you upload a PDF and want to share it in an email this is the URL you will use
- Delete Permanently: For when you want to remove the image totally from your WordPress library
Edit Image
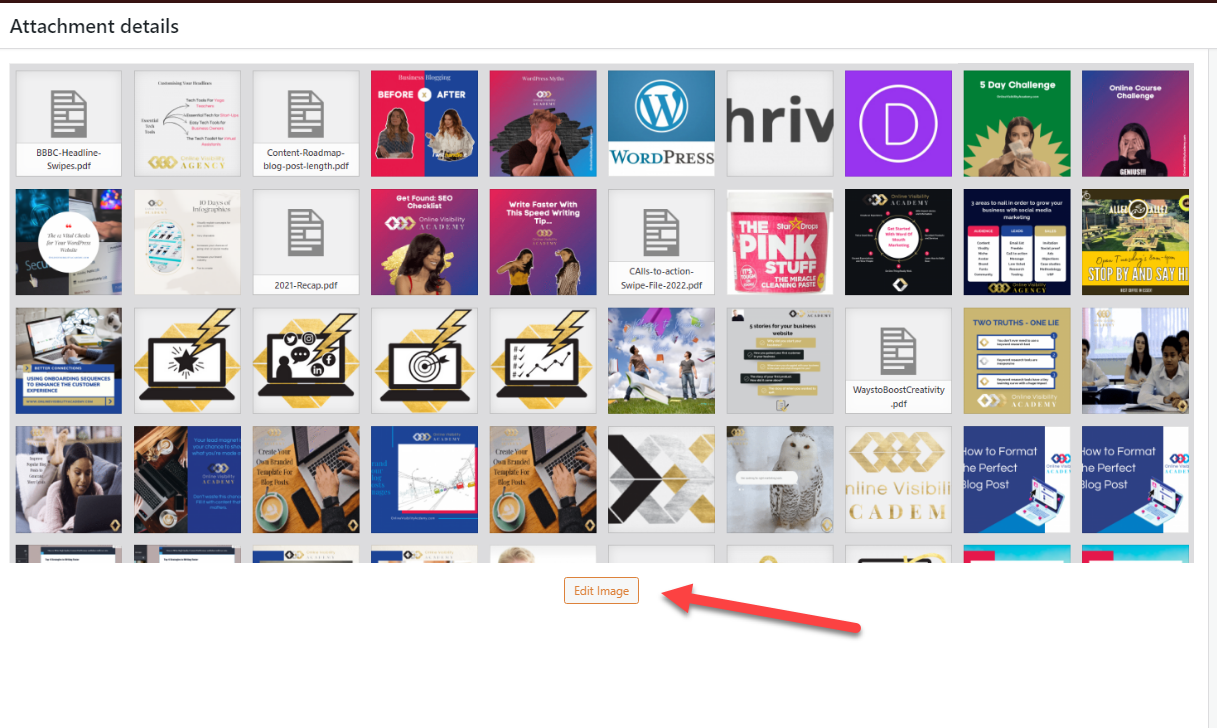
From the Edit Media page, you can perform limited image editing by clicking on the Edit Image button.
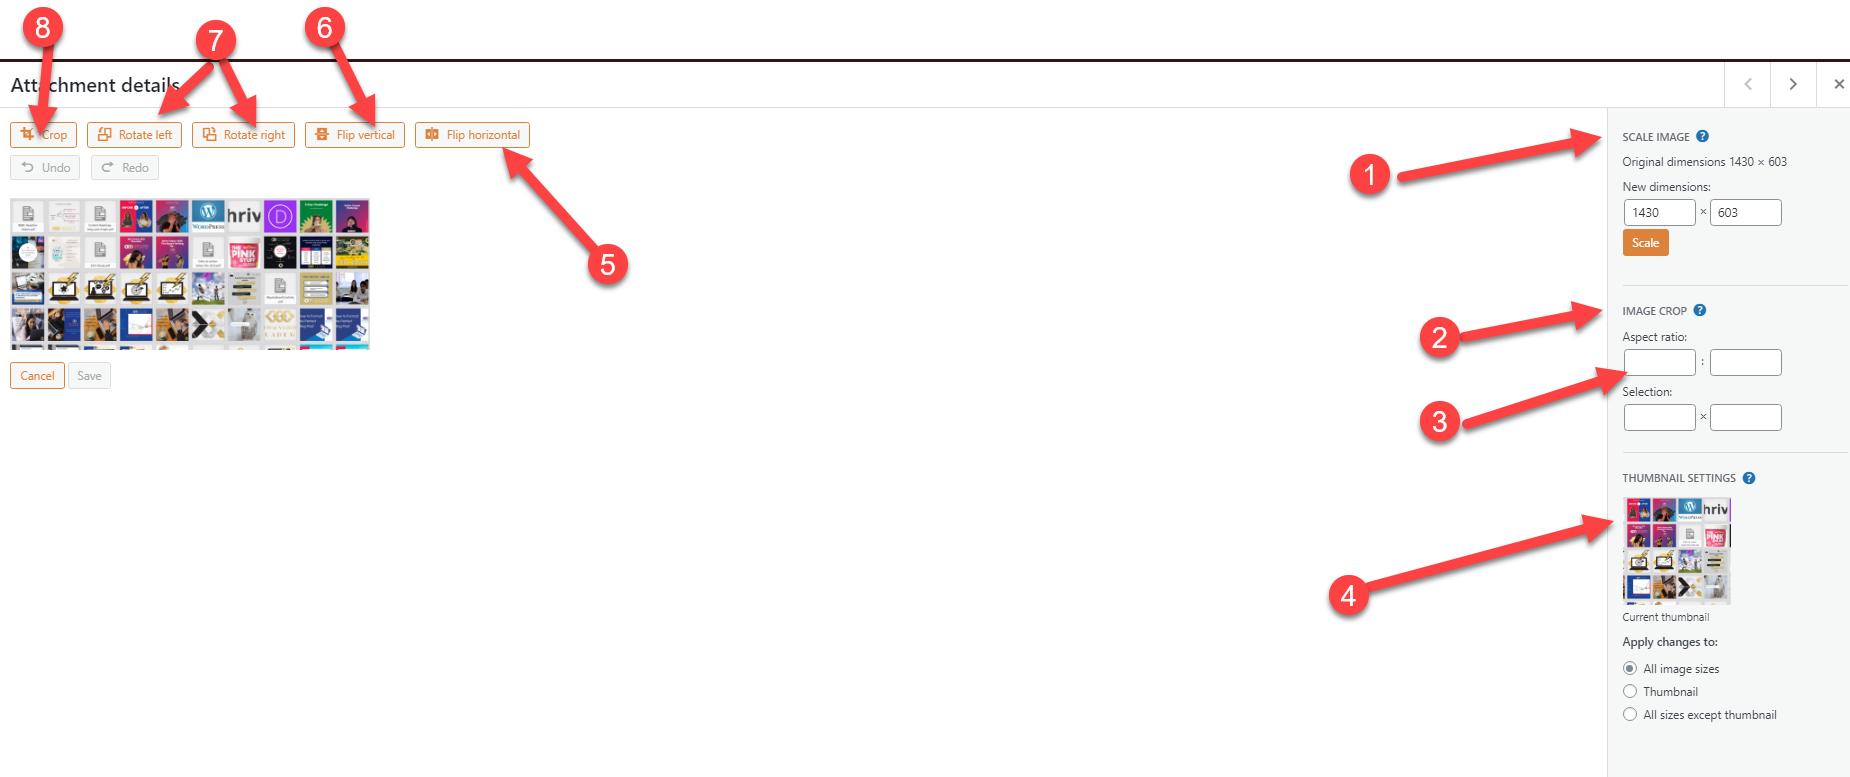
- Scale Image – To scale an image is to change its size proportionally. For example, if you reduce the height by 100px the width will also be reduced by 100px. If the image you uploaded is larger than needed, scaling it may help with load time.
- Image Crop – To crop an image is to remove the area around the main subject of the image. To crop your image just click and drag your mouse around the area on the image you want to keep. The area that will be removed will be grayed out. The crop area does not have to be proportional. When you have your area selected simply click on the crop button.
- Aspect Ratio: Reduce your image size in proportion
- Thumbnail Settings – These settings allow you to choose to only make the changes to the thumbnail, only the full-size images, or both (all image sizes). If you make edits and choose to only apply the settings to the thumbnail, then the full-size version of the image will remain unchanged.
- Flip Vertically and
- Flip Horizontally – If you need an image to be flipped, turned upside down or right side up, simply click on the flip horizontally (left or right) or flip vertically (up and down) button. You probably won’t need to do this often but it is nice to have the option.
- Rotate Left and Right – To rotate the image left or right, simply click on the appropriate rotate button and the image will then be turned to the desired side.
- Crop for when you just want one aspect of the image in the post
In a perfect world, you should optimize your images before uploading them to WordPress in order to save on load time. However, it is nice to have a small range image editing options available in the WordPress media library.


